
How to Use Codex CLI: Set Up AGENTS.md, config.toml, and MCP
Do you still paste your project structure, coding rules, and test commands into the chat every time you hand Codex a task, then click "approve" for every single command it wants to run? Because the explanation changes a little each time, the results swing too, and soon you spend more time babysitting the AI than it saves you.
Codex is OpenAI's coding agent. It reads, edits, and runs code from the terminal (CLI), your IDE, or the desktop app. A harness is everything around the model that makes it do real work: instructions, tools, and permissions. This guide sets up that harness in three layers, AGENTS.md (instructions), config.toml (model, approvals, sandbox), and skills plus MCP (tools), shows how to keep one source of instructions when you also use Claude Code, and explains how daglo turns a recorded planning meeting into a first draft of your task brief.
How to use Codex well: what is a harness?

The short version of using Codex well is "write it down once instead of explaining it every time." Codex reads AGENTS.md and config.toml when a session starts, then pulls in skills and MCP tools when it needs them.
| Layer | File or location | What it does |
|---|---|---|
| Instructions | AGENTS.md | Project rules, build and test commands, things to avoid |
| Settings | ~/.codex/config.toml | Model, approval behavior, sandbox scope |
| Skills | .agents/skills/name/SKILL.md | Workflows loaded only when needed |
| MCP | [mcp_servers.name] in config.toml | Connections to external services and tools |
Install it the way the official docs describe, with npm (npm i -g @openai/codex) or Homebrew, then run codex in your terminal and sign in with your ChatGPT account.
Writing AGENTS.md and how Codex layers it

AGENTS.md is a Markdown instruction file Codex reads before it starts working. Put habits that apply to every project in the global file (~/.codex/AGENTS.md) and rules for one project in the AGENTS.md at that repository's root.
Codex reads and combines instructions in this order:
- Global: In ~/.codex, it uses AGENTS.override.md if present, otherwise AGENTS.md.
- Repository: Walking from the repository root down to your current folder, it reads one file per folder (AGENTS.override.md first, then AGENTS.md).
- Merge: Files are joined from the top down. Files closer to your current folder come later, so they override earlier guidance.
The combined size is capped at 32 KiB by default (project_doc_max_bytes), so keep it short and focus on the rules Codex actually gets wrong. A repository AGENTS.md usually covers:
- A one-line project summary and the main folder layout
- Build, test, and lint commands, plus a definition of done such as "always run tests after a change"
- Code style and commit message conventions
- Files that must not be touched and actions that need a human first
To confirm what loaded, run codex --ask-for-approval never "Summarize the current instructions." from the repository root.
Setting the model, approvals, and sandbox in config.toml
config.toml decides which model Codex uses and how much it may do on its own. User settings live in ~/.codex/config.toml. Project settings in .codex/config.toml apply only to projects you have marked as trusted.
model = "your-model-name"approval_policy = "on-request"sandbox_mode = "workspace-write"
- model: The default model. Model names change often, so copy the current one from the official docs.
- approval_policy: When Codex asks a human. on-request asks when Codex decides it needs approval, and never does not ask.
- sandbox_mode: What Codex may touch. read-only only reads, workspace-write can write inside the working folder, and danger-full-access removes the limits.
Start with on-request plus workspace-write so nothing outside the project folder changes, then widen the scope once you trust the setup. You can also override these for a single run with the --sandbox and --ask-for-approval flags.
Adding tools with skills and MCP
A skill is a workflow Codex loads only when it is relevant, and MCP (Model Context Protocol) is the standard for connecting Codex to outside services and tools. Both let Codex do more while AGENTS.md stays lean.
- Skills: Write a name, a description, and the steps in .agents/skills/name/SKILL.md in your repository. Codex keeps only names and descriptions in view and opens the full file when a request matches. In the CLI, run
/skillsto list them, type$skill-nameto call one directly, or use$skill-creatorto build a new skill through conversation. - MCP: Add a server with a command such as
codex mcp add context7 -- npx -y @upstash/context7-mcp, or create an [mcp_servers.name] table in config.toml with command and args. Type/mcpinside Codex to check what is connected.
An MCP server reaches outside services with your account's permissions. Connect only servers from official sources, and pass tokens through environment variables instead of writing them into the config file.
Using Codex alongside Claude Code: keep one source of truth
Codex reads AGENTS.md and Claude Code reads CLAUDE.md. If you maintain both, one inevitably falls behind, so the simplest setup is to treat AGENTS.md as the original and point Claude Code at it.
| Item | Codex | Claude Code | How to keep one source |
|---|---|---|---|
| Base instructions | AGENTS.md | CLAUDE.md | Put a single @AGENTS.md import line in CLAUDE.md, or use a symbolic link |
| Skills folder | .agents/skills | .claude/skills | Keep one folder as the original and link the other to it |
| Settings | config.toml | settings.json | Different formats, so manage each separately |
| MCP | codex mcp add | claude mcp add | Register in each tool |
Both tools use the same SKILL.md format (the Agent Skills standard), so a workflow you write once works in either one.
Turning a planning meeting into a task brief with daglo
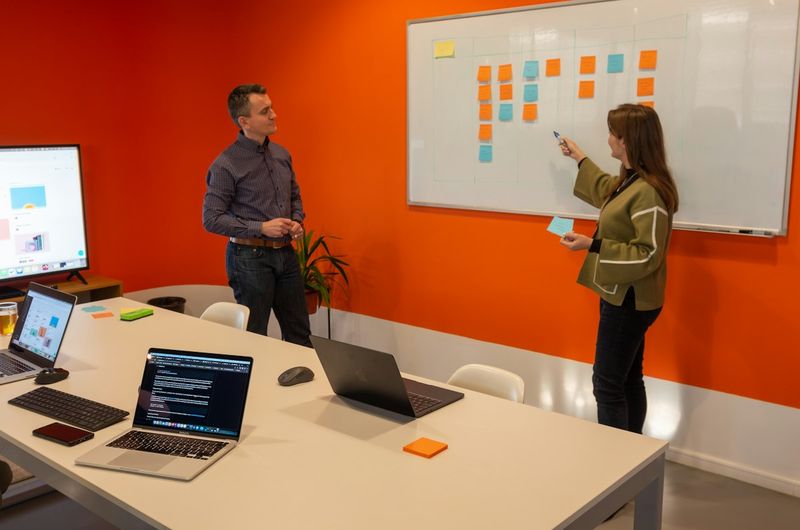
Good AGENTS.md files and task briefs come from the requirements a team agrees on in meetings. Record the planning meeting and transcribe it with daglo, and you get a speaker-separated transcript and summary you can turn straight into instructions.
- With everyone's consent, record the planning meeting and upload it to daglo for transcription.
- Collect the project's meeting notes on one board and ask Board Chat: "List only the requirements and constraints we agreed on."
- Review the answer. Move lasting rules into AGENTS.md and one-off details into the task brief you give Codex.
Ask Board Chat to separate "decided" from "still under discussion" so open questions do not slip into your instructions.
In short, Codex delivers consistent quality when AGENTS.md tells it the rules, config.toml sets its permissions, and skills plus MCP give it tools. Settings and commands change often, so check the official docs once more before you set things up.
#Codex #CodexCLI #AGENTSmd #HarnessEngineering #MCP #AICoding #AIAgents #daglo
Where talk becomes work.
Get started with 1,000 credits a month — no credit card required.